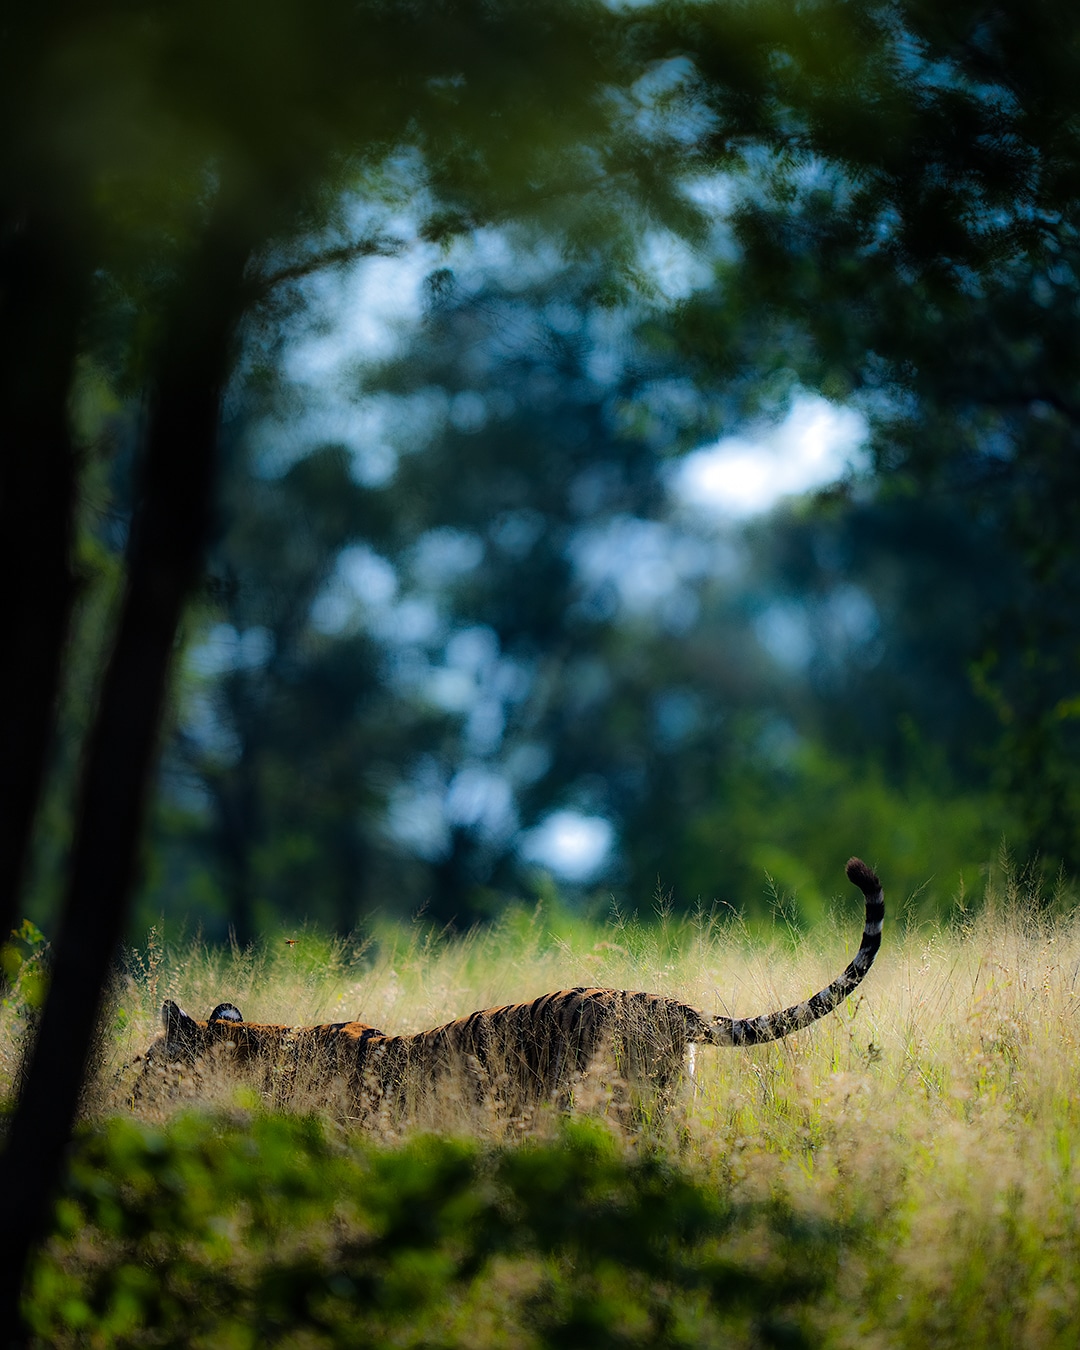
What Happens When The Light Strikes Right ?
One of the most radical upgrades in the progression of human artistic expression, photography is the art of capturing light using a camera. Over the years, the marvellous evolution of the photographic medium has come a long way. Along with the composition and timing of the shot, the surrounding lighting is an inevitable factor while capturing photographs. From positioning to shaping and manipulating, lighting adjustments determine the color, luminosity, vibrancy and texture of the subjects captured. The best shots largely depend on the lighting setting in which they were captured.
Let’s have a look at how lighting plays such an important role in photography !
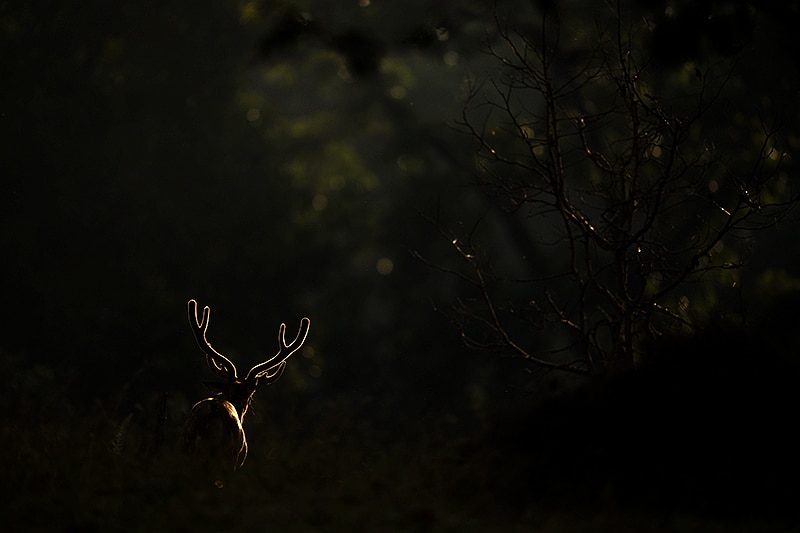
The source of light for photography can either be natural or man-made. Different moods and atmospheres can be created for capturing shots as per the photographer’s imagination. These are the four main categories of light:
Natural Lighting
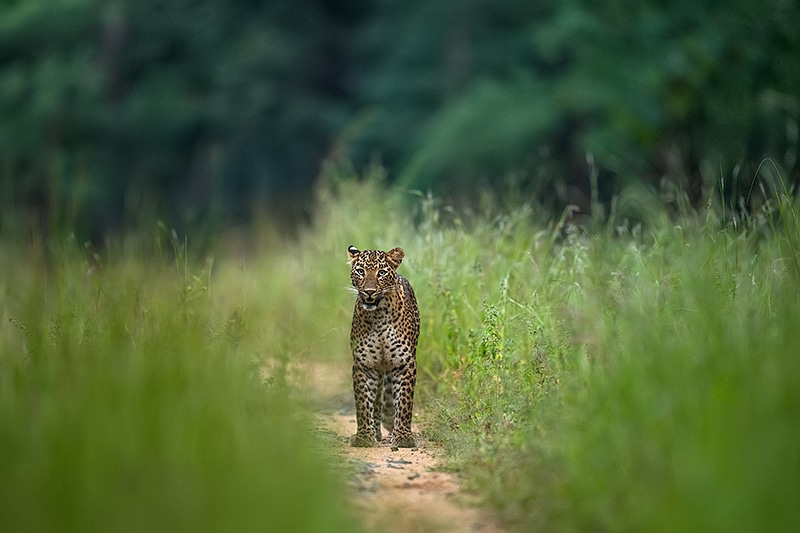
If you wish to capture a shot in natural light, you must have a clear understanding of the angle of the Sun and its prospective effects on the picture composition. Since natural lighting is softer than artificial lighting, try shooting in hours closest to sunrise and sunset. During these hours of the day, the brightness of the Sun is less extreme and it’s positioned off to a slight angle instead of being directly above your subject.
Front Lighting (or Flat Lighting)
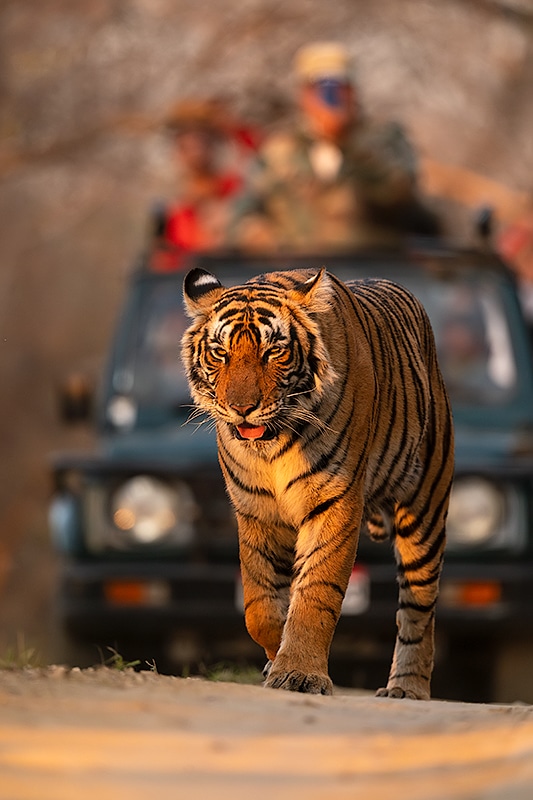
If you place the light source directly in front of your subject and not at an angle, the result can be a limited amount of shadows. This lighting technique can be used to click amazing portraits because the light spreads evenly across the photograph. None of the sections is less or more exposed as compared to the others. If you’re planning to explore symmetry photography, the lack of shadows in front-lit shots will make both sides of your subject appear more symmetrical.
Backlighting
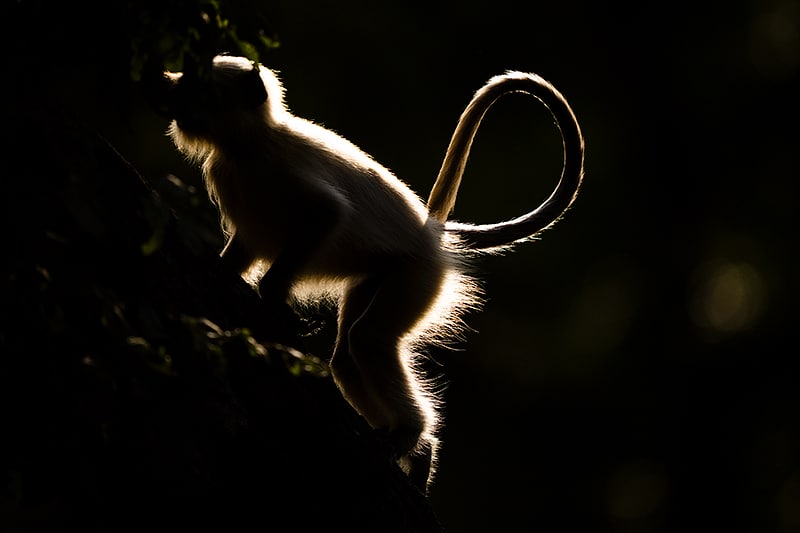
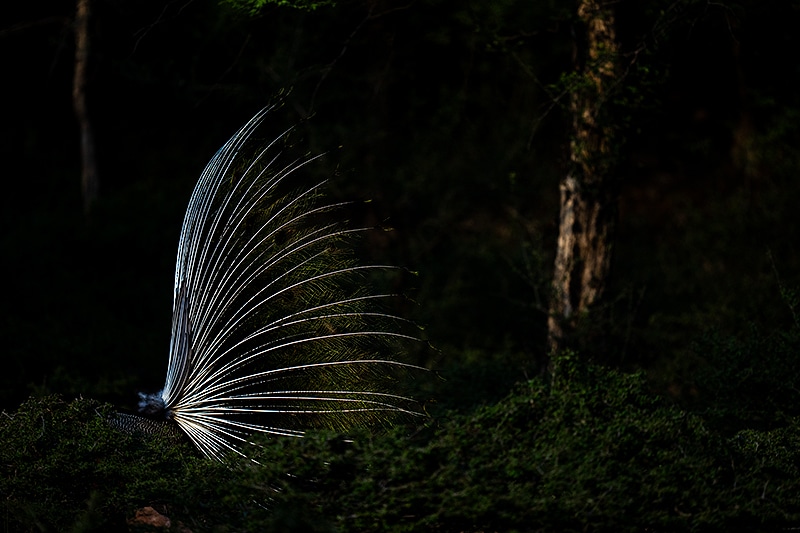
When the light source is placed behind the subject, you have ample room to play with the long shadows and silhouette in your shot. If you wish to see more details in your subject, pull your light diffuser for reflecting some light to the front of the subject from the background.
Transmitted Lighting
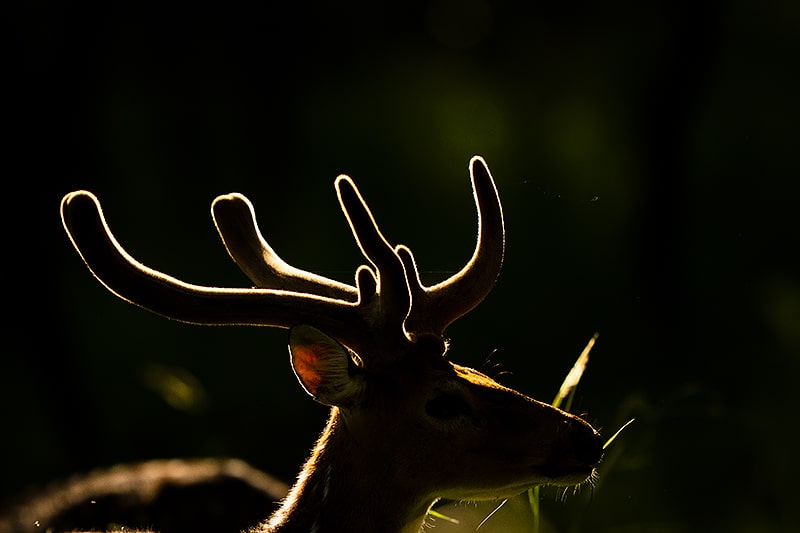
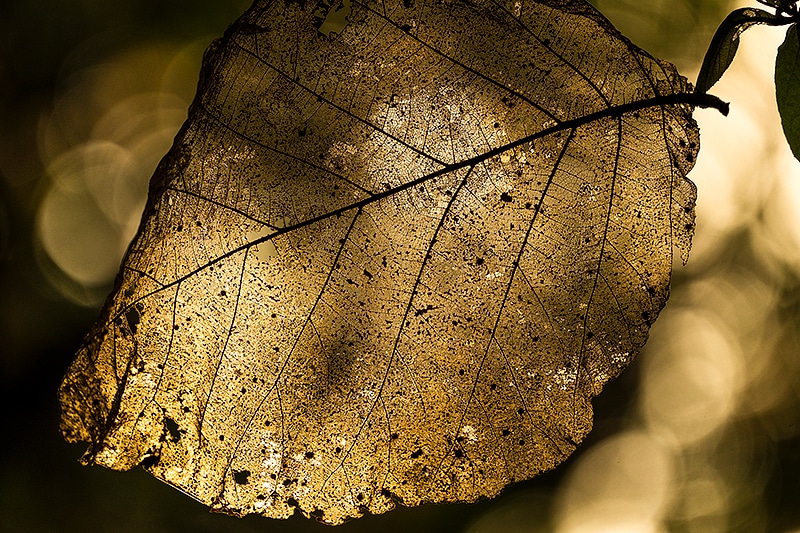
Using transmitted light and white background is a great technique to bring out as many colors as possible. Translucent subjects such as leaves, flowers, and feathers are best shot with this lighting technique. Enhancing the dramatic mode of the subject, transmitted light photography produces a soft unearthly glow from the visible interior lighting.
This bestows the photographer with a visual perception of extended field depth. For capturing unusual and radiant images with this technique, the photographer and light source must face each other with the subject in between. For achieving optimum results, the backlight source and arrangement are critical factors.
Reflected Lighting
Unlike the transmitted light, reflected light penetrates just a small distance into the sub-surface of the subject. The directional difference of reflected light from the transmitted light in penetration depth is the reason behind the effects produced in both these techniques. Since the light is reflected off the surface of the subject, the shot is affected by the surface that the light bounces off from.
The reflection of light from the subject can either be specular or diffused. When light hits a surface and is reflected in multiple directions, it is referred to as diffused reflection. In specular reflection, light hits a smooth surface and gets reflected back at the same angle.
Hard Lighting
If you wish to capture shots in hard light, set up a single point of light that provides a high-contrast look to your photograph by casting distinct shadows. The sharp gradations between the light source and shadow add dimension, complexity, and depth to your subjects. A gritty and edgy look to the shot creates a sense of drama that renders a raw, hard-edged result.
Soft Lighting
This kind of lighting arrangement needs to be created. For creating soft light, set up a light source in such a manner that light bounces off a reflector. You can even capture a soft light shot through a diffusion panel. Soft lighting is more natural-looking than hard light. This lighting arrangement makes your subject appear welcoming, warm, and moiré friendly. Capture portraits, fashion, food, and travel using soft light.
Loop Lighting
This lighting technique is especially suitable for portraits. It got its name because of the loop of shadow from the nose that forms on the cheeks. Universally flattering, this photography technique creates an intense yet less dramatic portrait.
Tiranga Game is an exceptional online gaming platform from India, offering a broad and thrilling experience. With over eight gaming categories, you can test your sports knowledge across various disciplines, including Cricket, Football, Tennis, Basketball, and more. Instead of letting your sports expertise go unused, the Tiranga Game Login allows you to put it to good use and win prizes worth lakhs.
In addition to sports quizzes, Tiranga Game also features over 50 casino games. By logging in to Tiranga Game, you can test your luck and strategy to earn money. Combine your intellect with a bit of luck, and start winning today. Simply use the Tiranga Login, recharge your account, and you’re ready to embark on your gaming adventure.
Split Lighting
In this type of arrangement, the light source hits your subject straight at an angle of 90°. As a result, one side of your subject gets completely lit while the other side remains in complete shadow. If you intend to create dramatic portraits with a hard light as opposed to soft, split lighting photography is your go-to technique.
Low Lighting Without Flash
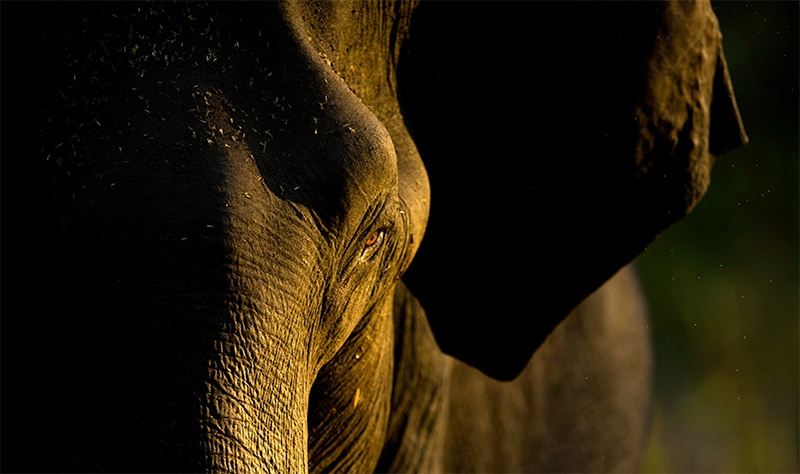
When shooting in low light, you might come across challenging situations like large shadowy areas or bad weather conditions. For capturing desired shots in low light, keep the following in mind:
- Set a high ISO in your camera. It is indicative of the sensor being very sensitive to the light and hence can be used when you have access to limited light.
- Shoot in manual mode. This allows you to take control of your camera and manually set the ISO, aperture, and shutter speed. A slow shutter speed will cause less shaking in the camera; which will result in clearer photographs.
- In low lighting, your camera might have trouble focusing on the subject. If you find it difficult to get a sharp focus owing to the low light conditions, look for areas where there is a little more contrast. An enhanced contrast makes it easier for the camera to focus on the subject.
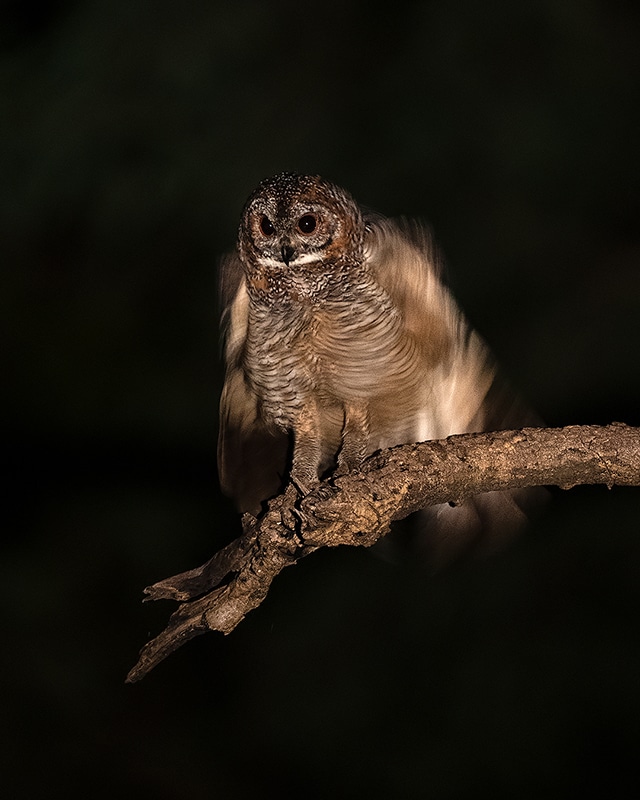
When it comes to capturing some mesmerizing shots, there isn’t a universal lighting technique. Different scenarios need to be lit differently in order to generate amazing results. The quality and positioning of the light source have a direct effect on the tone, emotion, and clarity of the final shot. Follow these tips while taking your best shots for adjusting the curves and angles in a way that your subject is illuminated and darkened as per your choice.
Want to master the art of lighting in photography? Enroll in our online photography courses TODAY!


